




How to dry a pumpkin
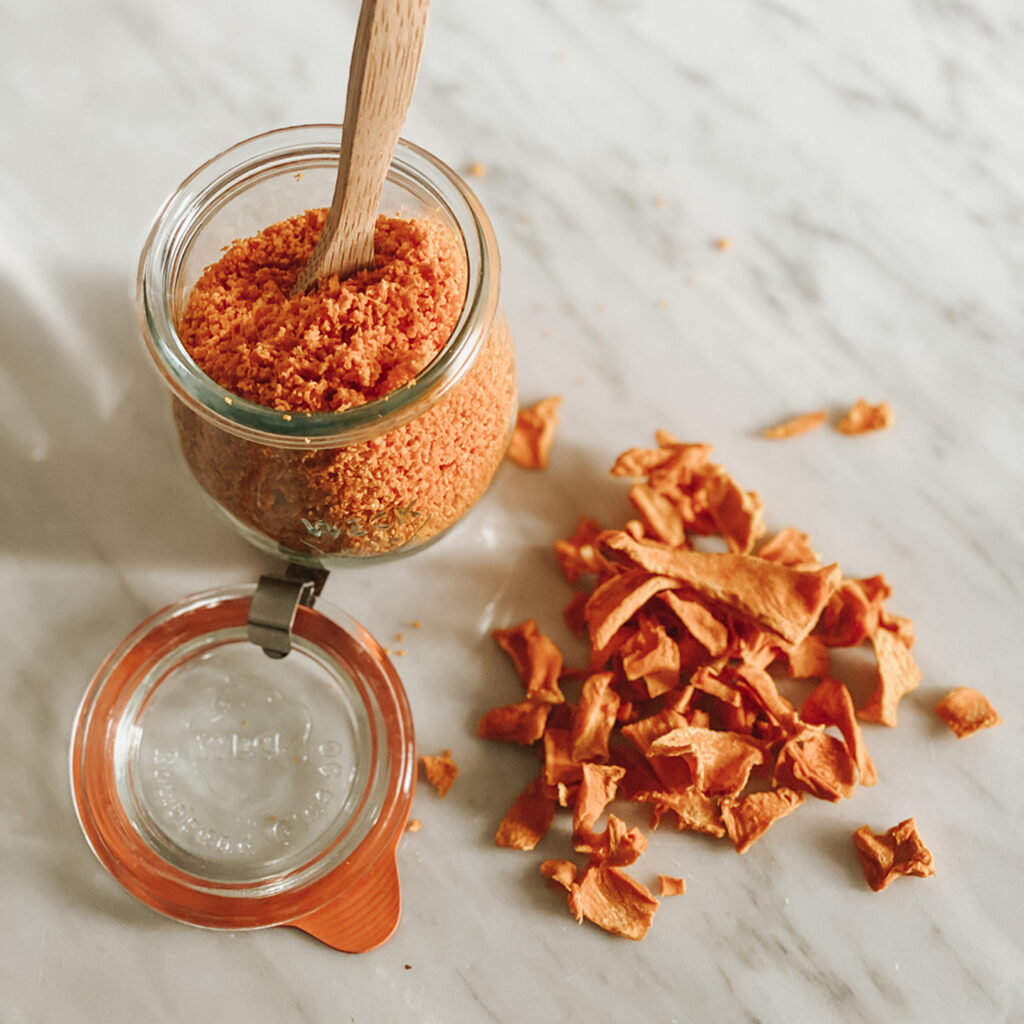
A pumpkin cut too thickly remains moist at the centre; an uneven slice does not dry properly and requires constant checking. Understanding how to dry a pumpkin It all starts, then, with a simple yet crucial step: preparing uniform pieces and choosing a healthy, ripe and firm vegetable. In this way, a bountiful vegetable – often available in abundance during the autumn months – becomes a store of flavour to be used thoughtfully all year round.
Drying is a traditional practice that gradually removes water, concentrating flavour, aroma and natural sweetness whilst preserving the essence of the food. It is an ethical and effective choice for the home, the farm and artisan workshops: it allows us to make the most of seasonal produce, manage overproduction and reduce food waste, whilst upholding the culture of natural preservation without ever compromising on the quality of the harvest.
Which pumpkin to choose before drying it
Not all pumpkins yield the same result. For the very highest quality results, varieties with firm, dry and intensely coloured flesh – such as Delica, Mantovana, Butternut or Violina – are particularly suitable. Watery flesh will require significantly longer drying times and may result in a less uniform product. A pumpkin that is overripe or has soft patches, on the other hand, is not suitable for precision cutting.
Choose undamaged fruit, free from mould, deep bruises or spoiled parts. The skin should look healthy and the flesh should offer slight resistance to the knife. If the pumpkin comes from your own vegetable patch or from a local grower, preparing it at the height of the season means preserving the character of the harvest intact, retaining its warm colours and earthy aroma thanks to a respectful and mindful approach.
Varieties with edible skin, such as Hokkaido squash, can be prepared without peeling, provided the skin is clean, thin and pleasant to the palate. In most cases, however, peeling the vegetable helps to produce more even slices that are easier to use in cooking.
How to dry a pumpkin: preparation and cutting
The first essential step is hygiene. Wash the outer surface thoroughly under running water, even if you plan to peel it, to prevent any residue on the outside from transferring to the flesh when you cut it. This rule of thorough cleaning applies to every produce from the earth: even when it comes to mushrooms, remember that they still need to be washed; do not perpetuate false urban myths that advise against using water. Food safety starts with perfectly clean raw ingredients.
Dry it thoroughly, cut the pumpkin in half, remove the seeds and fibres with a spoon, then peel it using a sturdy knife or a vegetable peeler suitable for the texture of the skin. The way you cut it largely determines how well it turns out. To make crispy chips, cut it into slices about 3–5 millimetres thick. For cubes to be rehydrated in soups or used as fillings, aim for a uniform size of around 1 centimetre. To obtain a fine powder for use in doughs or creams, opt for very thin slices: they will dry out completely evenly and will be very easy to grind.
Consistency in thickness is more important than aesthetic appearance. Slices that differ too much from one another will reach the correct level of dryness at different times, creating imbalances. If you’re working with large quantities, spending a few extra minutes ensuring precision when cutting is a genuine investment in the artisanal quality of the final product. You can dry the pumpkin naturally or with subtle flavourings, but remember that salt and spices must be used sparingly, as the absence of water will greatly intensify their flavour.
Temperature and drying times
When drying pumpkin, it is advisable to work at moderate temperatures. Gentle, steady drying helps to preserve the enzymes, natural colour, aroma and valuable organoleptic characteristics of the flesh. With a horizontal, unidirectional air-flow dryer, such as those designed and manufactured in Italy using Tauro Essiccatori’s Biosec system, the air flows through every single shelf in a parallel and uniform manner. This exclusive technical feature makes a huge difference: it eliminates the hassle of having to swap or rotate the baskets during the cycle and prevents flavours from mixing between different levels.
The DrySet Pro electronic system allows you to select the most suitable programme. For pumpkin, programme t3 operates at around 40–45 degrees Celsius and completes the process in approximately 24 hours. Depending on the thickness, thin slices may take as little as 8–12 hours, whilst chunky cubes can easily take well over 16 hours. Drying isn’t a mathematical formula that ends when you look at the clock, but a natural process that is completed by observing, touching and understanding your food.
How to tell if a pumpkin is ready
The desired texture depends entirely on the intended use. To make crisps for aperitifs, the slice must be firm and break cleanly. For cubes to be used in stews or risottos, the piece must be thoroughly dry, tough and hard. To produce flour, the piece must be completely dry: any residual moisture would make grinding impossible, as it would cause the blender blades to jam and drastically shorten the product’s shelf life.
Always carry out a cold test by taking a sample. Leave it to rest outside the machine for a minute and snap it in half. If it feels soft or has a rubbery texture in the centre, continue the drying cycle without delay.
Storage: the heat rule
Packaging is the stage where all the work you’ve done is protected. When it comes to packaging, remember that a fully dried product retains its crispness if it is put into jars whilst still warm, taken straight from the dryer baskets. By avoiding letting it cool in the open air, you’ll prevent the product from reabsorbing moisture from the environment as it cools. The hot, dry food, sealed airtight, will cool inside the glass jar without absorbing external moisture, ensuring a wonderfully long-lasting crispness.
Store the jars in a clean place, away from light and heat sources. Glass jars, as well as being an eco-friendly choice that can be reused indefinitely, are handy for keeping an eye on the contents. If you notice condensation forming on the inside of the glass in the first few days, it means there was too much residual moisture: put the pumpkin back to dry straight away to finish the process. Always label your supplies with the variety and date – a useful habit for keeping your larder tidy and waste-free.
Expert's trick
Don’t waste any of your vegetables! I pumpkin seeds, once they have been removed and washed thoroughly, can be dried to make a crunchy, healthy snack. What’s more, if you fancy an irresistible treat, turn the dried slices into a sweet powder. Blend the dried pumpkin in a coffee grinder and add a pinch of cinnamon and brown sugar: you’ll end up with a natural flavouring with a warm, comforting aroma, perfect for enhancing herbal teas, cake mixtures, autumn biscuits or breakfast spreads.
Ideas for using dried pumpkin
Dehydrated pumpkin opens up endless creative possibilities. The slices can be turned into crisps for a tasty aperitif – they’re brilliant when paired with a nice glass of craft beer or flavoured with aromatic herbs. The cubes are the perfect base for freezer bag cooking or for minestrone, instantly softening in hot stock and releasing sweet, intense flavours.
Whether at home or in a professional kitchen, pumpkin powder allows you to control the flavour and natural colour with extreme precision. For farms and agritourism businesses, processing part of their harvest using a professional system means adding value to their work, reducing cold storage costs and offering a seasonal ingredient of the very highest quality all year round, thereby creating added value whilst fully respecting the food.
Mistakes that compromise the drying process
The first mistake to avoid is overloading the trays by stacking the slices on top of one another. Air must be able to circulate freely around every surface. The second mistake is to give in to haste by turning the heat up too high: excessive heat dries out the outer surface too quickly, creating a crust that traps moisture at the centre of the piece, irreparably compromising its shelf life, colour and precious enzymes.
Uneven thickness during slicing and, as already pointed out, the fatal mistake of allowing the dried product to cool in the humid kitchen air before sealing it in jars, are the main causes of a poor result. Drying is a technique that rewards adherence to natural principles: excellent raw materials, skilful cutting and the reliability of a horizontal flow system transform an ancient practice into a modern art.
When you fill your glass jars, you’re ensuring the harvest continues, honouring the hard work of those who cultivate the land and creating a living, authentic larder. To learn more about the method, discover new ways of processing your produce and find out about the tools designed in Italy to make the most of your harvest, find out more at Tauro Dryers and find out more within our passionate community of experts and creatives on essiccare.com.
 Italian
  English
  German
  Spanish
  French
  Romanian