




Pumpkin flour
Farina di zucca fatta in casa: preparazione, essiccazione e utilizzi.
Introduction to the recipe
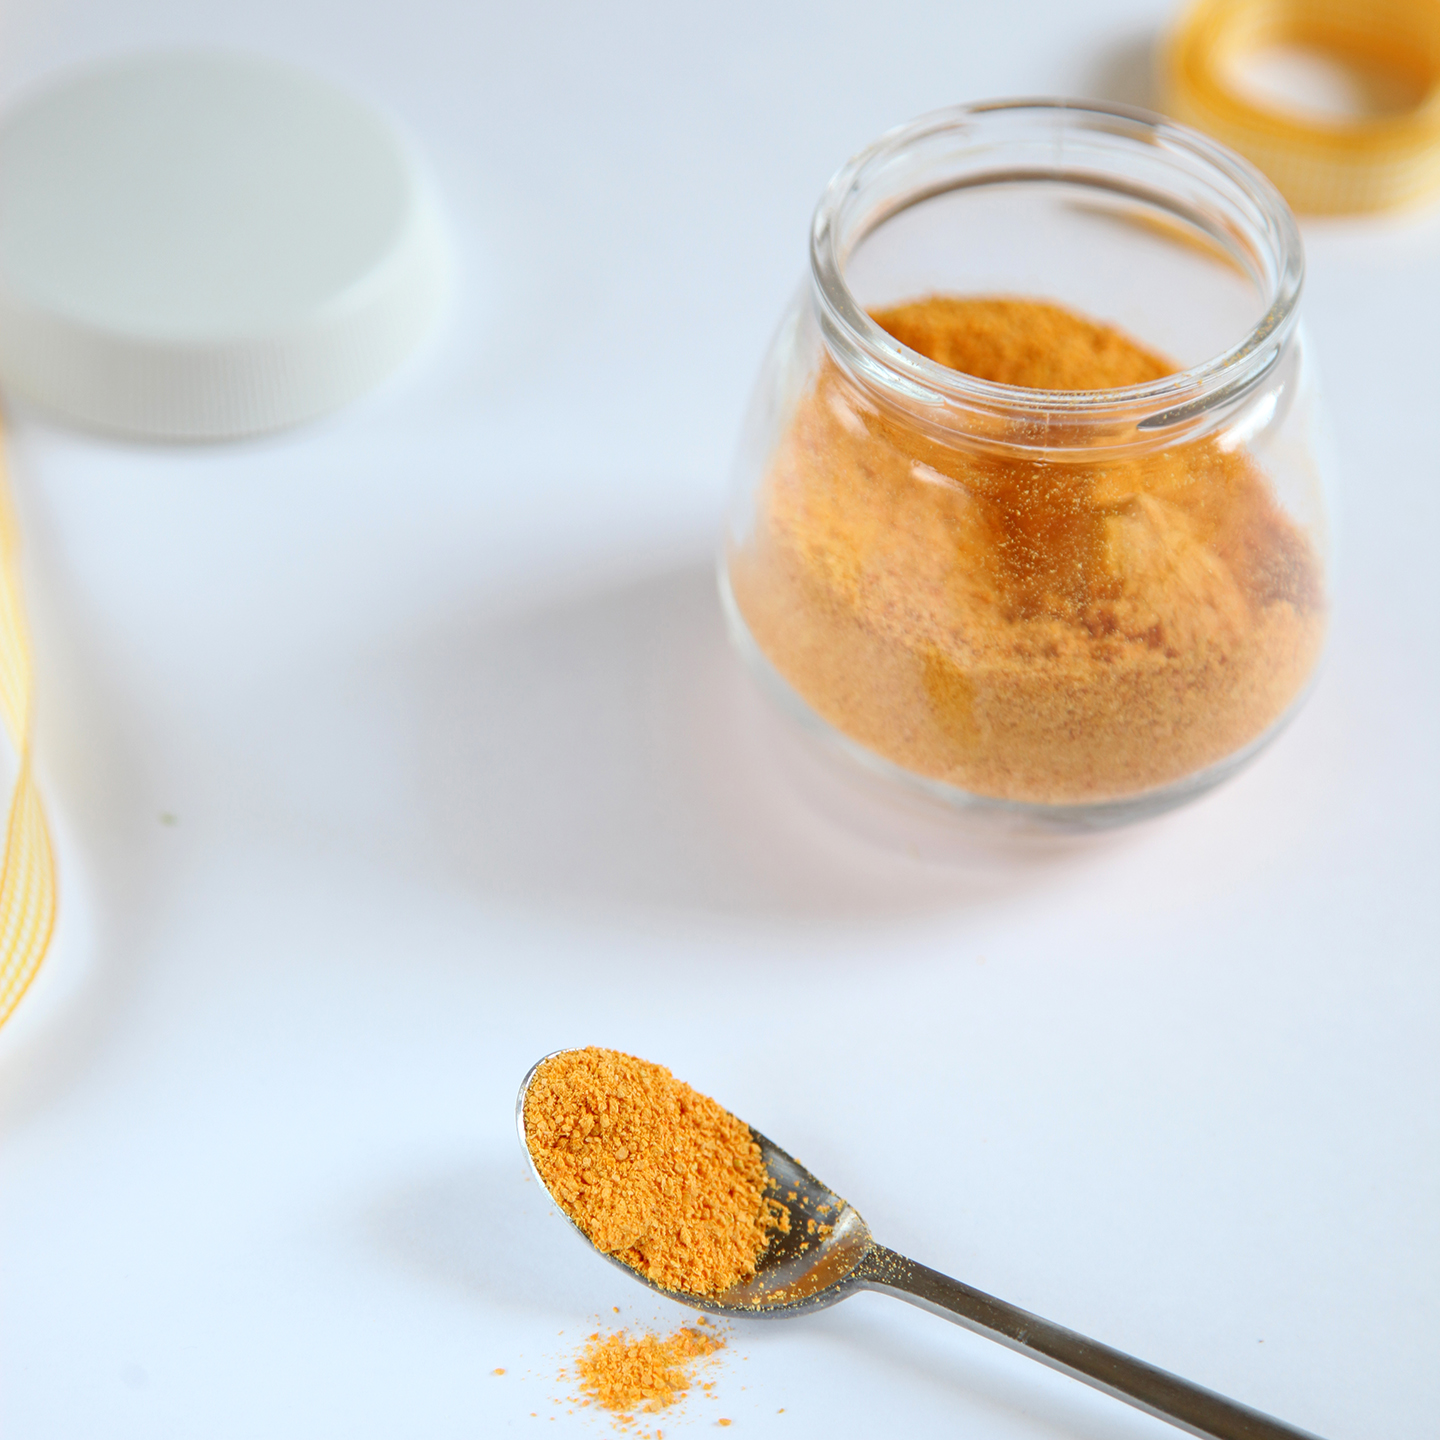
Making your own pumpkin flour at home is a brilliant way to capture all the flavour, colour and nutrients of this autumn vegetable. The main benefit of this method, an idea from Donatella of the blog Golden Spoon, is the ability to add the flavour and colour of pumpkin to your recipes without altering their moisture content in the slightest. This solves the most common problem when using purées made from oven-baked or steamed pumpkin, which release water and throw the consistency of the mixture off balance. Drying gently removes the moisture, creating an extremely versatile powder with a very long shelf life.
Quale essiccatore usare per preparare la farina di zucca
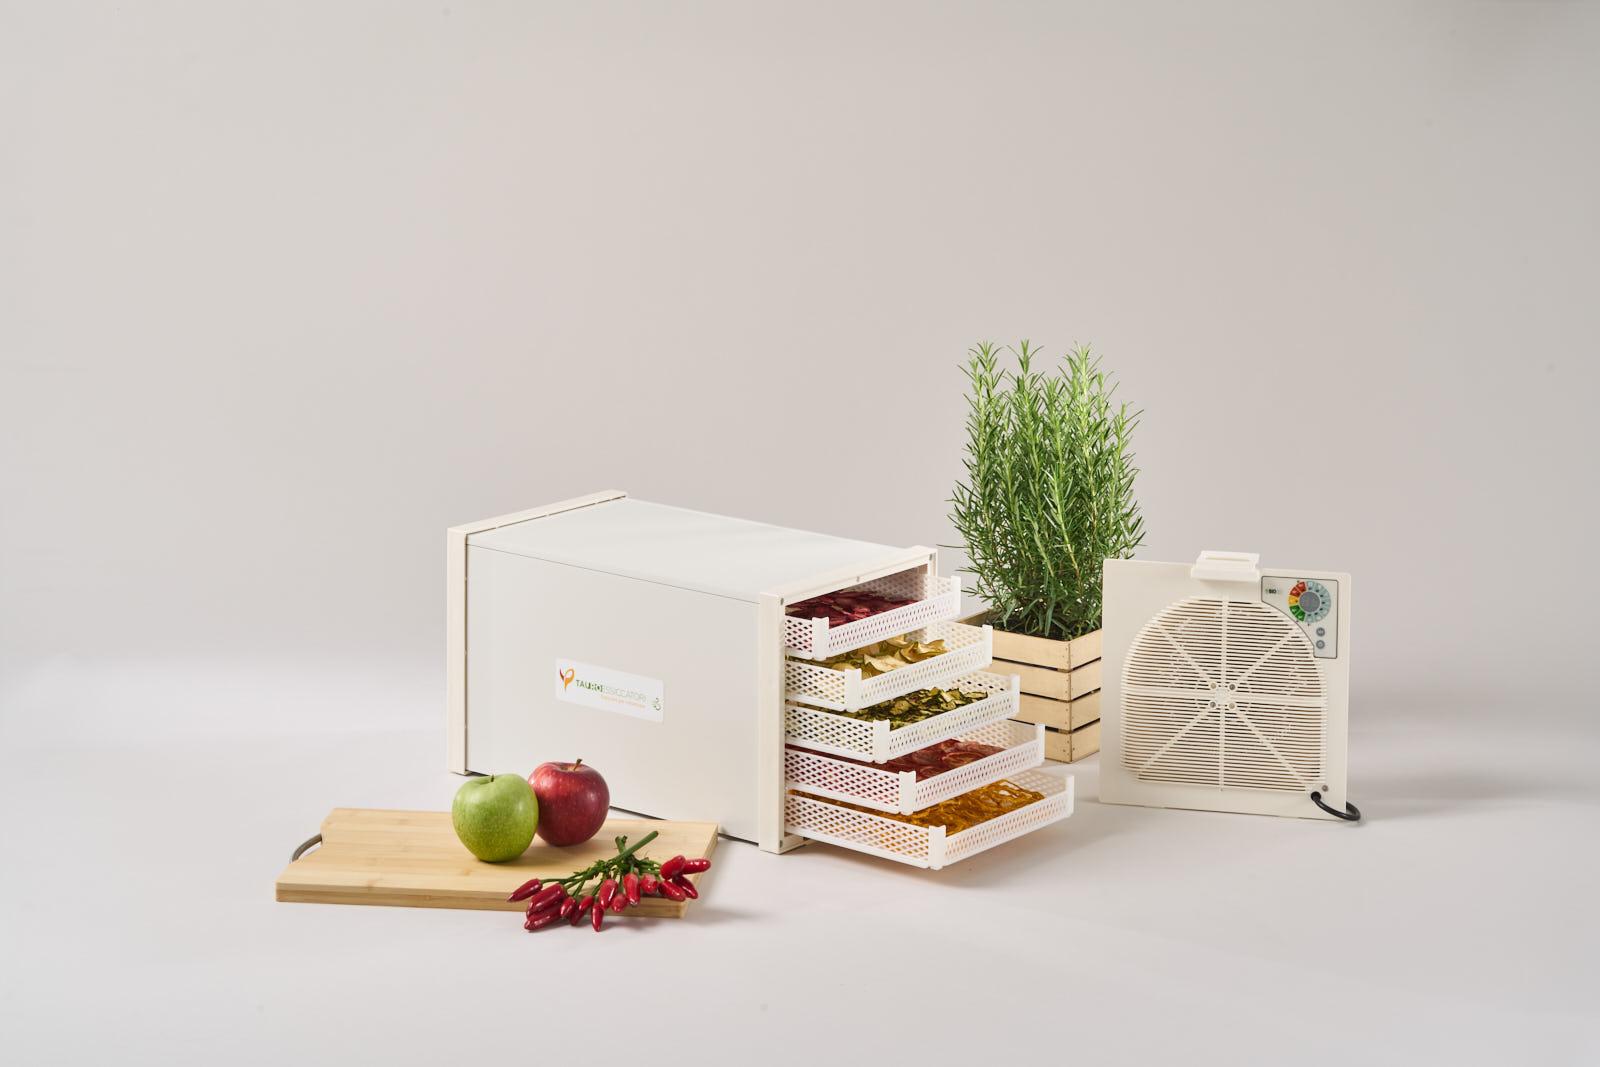
A domestic dehydrator is ideal for making pumpkin flour, such as Biosec Domus B5, fitted with 5 trays and the Dryset Pro horizontal airflow system. This airflow ensures even drying across all shelves, which is essential for drying vegetable slices uniformly.
If you wish to make a large supply of flour by processing large quantities of pumpkin, the model Biosec Domus B10 or the model Biosec De Luxe B12 It offers 10–12 baskets, doubling the load capacity.
Furthermore, particularly if you are using very sweet varieties of pumpkin, it is advisable to line the baskets with non-stick baking paper DrySilk, which will prevent the slices from sticking to the base during dehydration, making them easier to remove.
Ingredients
- As much pumpkin as you like (we recommend a firm-fleshed variety, e.g. Delica, Mantovana or Butternut)
Procedure
1. Preparation and cutting
To ensure even drying and the correct drying times, the thickness of the slices is crucial. Once you have trimmed and peeled the pumpkin, slice it very thinly, keeping each slice about 4 millimetres thick. For a professional result, we recommend using a slicer or a mandolin; alternatively, you can use a knife with a very sharp blade.
2. Arrangement and drying cycle
Place the pumpkin slices flat on the Biosec trays, ensuring they do not overlap. Insert the trays into the tunnel and start programme P2, which maintains a gentle temperature of around 45°C. This gentle temperature is ideal for dehydrating the vegetable without cooking it, preserving its vibrant colour and flavour. The drying process is complete when the slices feel firm and brittle (crunchy) to the touch.
3. Cooling and milling
Once the drying cycle is complete, remove the trays and leave the pumpkin slices to cool at room temperature. Next, place the dried slices in a powerful blender or in a spice grinder. Pulse the mixture until you have a very fine powder, taking care not to overheat the blades, so as not to alter the quality and colour of the flour.
4. Storage
Once you have made the flour, transfer it to an airtight glass jar. As it is a completely dried product with no moisture content, it keeps perfectly in the cupboard just like ordinary flour, retaining its properties for many months, provided it is kept away from direct light and sources of heat.
Advice for professionals and enthusiasts
Pumpkin flour is a “magical” ingredient to always have in your pantry. Just imagine how many dishes you can enhance with a single spoonful of this powder: fresh egg pasta, gnocchi, sweet and savoury yeast-raised baked goods, or as a decorative dusting and flavouring.
Have you tried turning vegetables into alternative flours using your Biosec yet? Share your results and experiments with our community of drying enthusiasts.
Recipe by Donatella Simeone


 Italian
  English
  German
  Spanish
  French
  Romanian