




How to dry pumpkin seeds
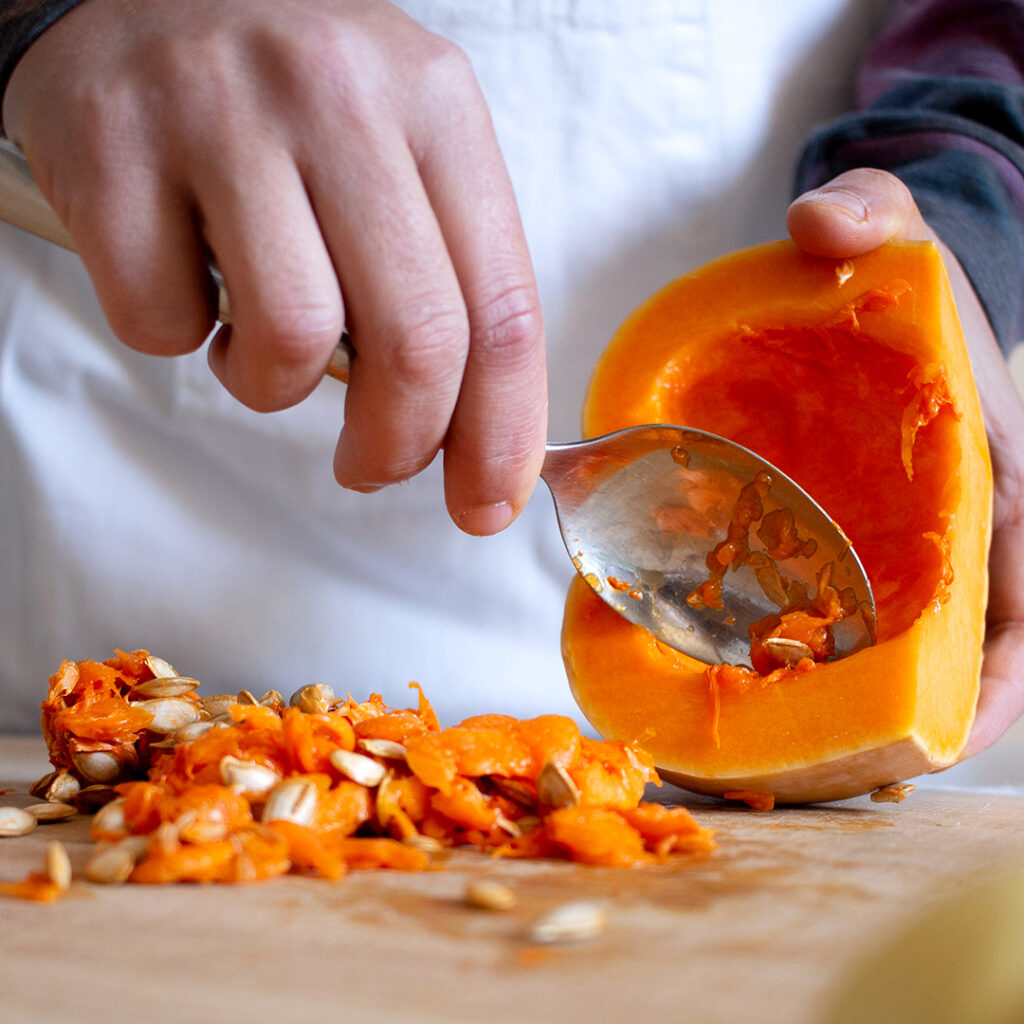
How to dry pumpkin seeds: from sowing to a crunchy snack
Pumpkin seeds are a valuable resource that all too often end up in the organic waste bin. If you want to keep them to plant in your vegetable patch the following spring, or turn them into a savoury, healthy and incredibly crunchy snack, drying is the best way to go. For sowing, you need gentle drying at a low temperature to preserve the seeds’ germination capacity; for eating, using a dehydrator with high-temperature programmes dries the seeds to perfection and enhances their flavour with a wonderful toasted effect. Horizontal airflow drying — the technology that circulates air constantly and evenly across every level of the basket — guarantees a clean, consistent and safe result compared to the traditional and risky open-air method.Why dry pumpkin seeds: zero waste and maximum yield
When you’re preparing a pumpkin in the kitchen, it’s very tempting to discard the seeds and their stringy fibres. Remember, however, that the seeds contain essential micronutrients, minerals such as magnesium and zinc, as well as fats that are very good for the body. Preserving them by dehydrating offers two great benefits:- Horticultural use: to preserve the embryo’s vitality so as to obtain new seedlings the following year.
- Food use: make a homemade snack, controlling the amount of salt and avoiding industrial frying or toasting, which break down vegetable oils.
The golden rule: the importance of a ripe pumpkin
Before we go any further, there is one crucial detail for the success of your drying process: The seeds must be well-formed and plump. This result can only be achieved when the pumpkins are perfectly ripe. If you use a pumpkin that is still unripe, you will end up with empty seeds, devoid of their inner “flesh” (the fleshy, nutritious part), rendering both your attempt to sow them and your attempt to use them as a snack futile.Drying pumpkin seeds for the vegetable garden (to preserve their germination capacity)
If the aim is to plant the seeds in the following season, the main objective is to remove the moisture without damaging the embryo inside.The traditional air-drying method (and its limitations)
Traditionally, the seeds are laid out on sheets of newspaper near a window facing south or on a windowsill. Although this method works for small quantities, it has significant drawbacks:- Dust and smog: Paper and playing cards left out in the open collect dust from the air.
- Insects and contamination: Flies and insects are attracted to the sugars in the remaining pulp.
- Mould: If the ambient humidity is high, the seed is likely to rot before it dries out.
The safe method using a dehydrator
To preserve the seeds’ germination capacity in a hygienic manner, cut the pumpkin open, remove the flesh and roughly separate the seeds from most of the pulp. Then:- Arrange the seeds on the shelves. You can use the Drysilk non-stick sheets o DrySilk Net nets.
- Use a low-temperature cycle (maximum 30–35 °C), such as the t3 or the programme About of your Biosec. The warm but gentle air will dry the seed without “cooking” the embryo.
- Once the process is complete (approximately 18–24 hours), the seeds will feel dry to the touch and be ready to be stored.
Drying seeds for consumption: the secret to a crunchy, savoury snack
To make a tasty snack that’s toasted to perfection, the process is straightforward, practical and makes the most of your dehydrator’s temperatures. Here are the foolproof steps:- Scrubbing: As soon as you’ve removed them from the pumpkin, wash the seeds under running water, rubbing them vigorously between your hands to remove most of the stringy orange flesh.
- Wet salting: Drain them roughly, but Leave them whilst they’re still wet. Add about 10 or 12 grams of fine salt per kilo of seeds. This is the perfect time to add spices to taste (paprika, ground rosemary, chilli). Rub them in well with your hands for a few minutes, until the salt has completely dissolved in the remaining water, coating every single seed.
- Arrangement and drying: Arrange the seeds on the shelves and switch on the dehydrator at highest possible temperature. If you are using a domestic Biosec with the Dryset Pro electronic control system, set the programme P4 (Superhot) at 68 °C.
- Roasting: Leave them to dry at this high temperature until they are completely dry. The high temperature will set the salt and give the shell and the inside an incredible crispness, similar to that achieved by toasting in the oven, but without the risk of burning.
Mistakes to avoid during the drying process
- Using unripe pumpkins: As already mentioned, they will leave you with seeds that have had the inner “flesh” removed, which are of no use as food.
- Placing too many seeds on top of one another: Although the horizontal airflow ensures even ventilation, stacking the seeds in layers that are too thick slows down the evaporation of water.
- Using excessively high temperatures for vegetable seeds: Exposure to temperatures exceeding 40 °C when you wish to store seeds for sowing will kill the embryo. High temperatures should be used only for a snack!
- Store seeds that are not completely dry: If any moisture remains inside the shell, mould will appear inside the jar within a few weeks.
How to store dried seeds
Once the product has finished drying and has been left to cool to room temperature:- For the vegetable garden: Place the seeds in paper bags or breathable containers, labelling them with the date and the variety of pumpkin. Store in a cool, dark place.
- For the pantry (food use): Transfer the roasted and salted seeds to airtight glass jars or vacuum-sealed bags. If dried correctly, they will remain fragrant and crunchy for several months.
 Italian
  English
  German
  Spanish
  French
  Romanian